Printing Letters and Labels
For postal delivery to recipients, MailList King integrates full letter
and label printing functionality.
1. Select the recipients for your
letters/labels
|

|
By default,
MailList King will print letters for all recipients in your current view
mode that have a postal address. I.e., if you have filtered
your list or selected some groups, then the displayed list will be
the recipients of your message. You
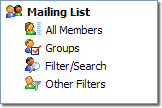
can display only members with postal addresses by selecting "Other
Filters" and choosing the "Have Postal Address" filter.
Note:
You can also load recipients from a file by clicking the "To"
button in the editor |
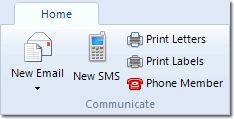
2. Select "Print Letters"
or "Print Labels" from under "Home" on the main toolbar |

|
3. Compose your Letter/Label
Letters
You can fully format your letter content and
optionally include images, as well as load content created by editor such
as Microsoft Word. Of course you will want to personalize your letter with the name and other
details of the recipient. You can load or create
the default template for all your letters by selecting the relevant option
from the file menu.
Labels
You will need to specify the layout settings to match
that of the label sheets you are printing to. Generally
your content will include only the personalization field %PostalAddress%
which inserts a fully formatted postal address (you can configure Postal
Address options by clicking the Personalize button and selecting Options)
but you may choose to use other text and personalization
fields.
4. Click Print
Once you have created your letter and previewed
it to ensure it is correct, click Print to output the personalized letters
to your printer
See Also

